
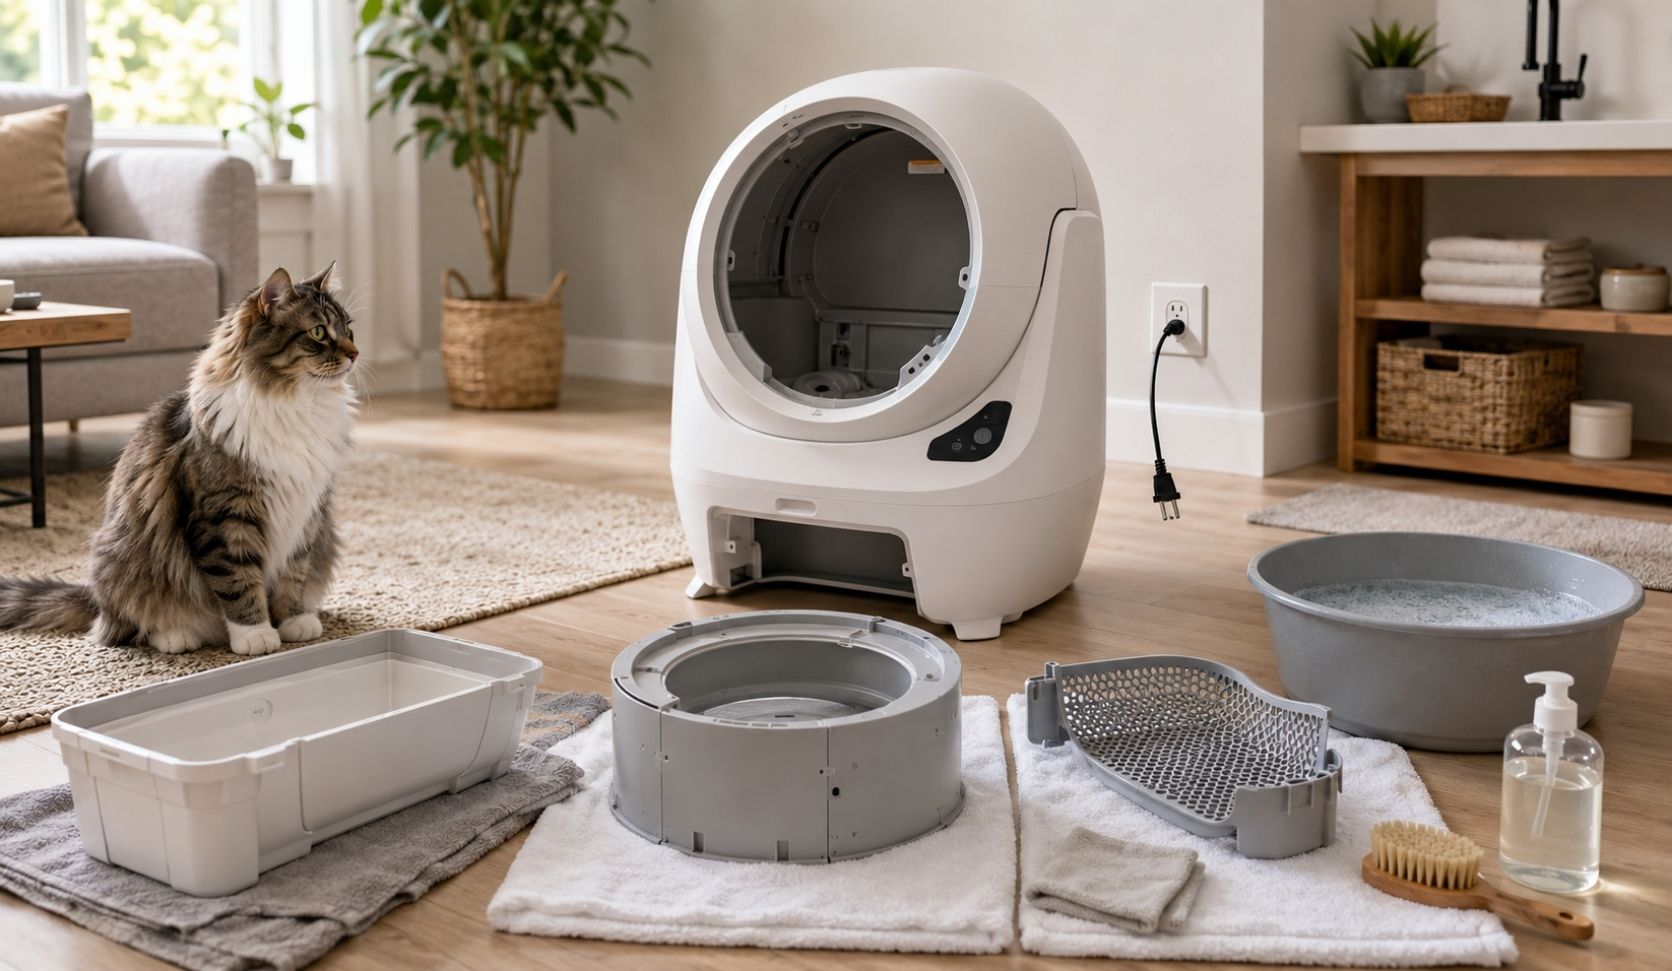
Before anything else: unplug it, and keep water away from the control housing. Those two rules cover almost every way a deep clean goes badly wrong. Everything that holds litter or waste is washable. Everything that holds electronics is not, and no amount of careful drying afterwards reliably undoes a soaked sensor board. Work in that order, power off, disassemble, wash only the parts meant to get wet, dry completely, reassemble, test empty, and a teardown is a straightforward hour rather than a repair bill.
Every guide I could find for this is published by a manufacturer about its own unit. That is useful if you own that unit and unhelpful otherwise, so this is the version built around what these machines have in common.
What comes apart, and what does not
Automatic litter boxes differ enormously in shape and identically in principle. There are four categories of part, and knowing which is which is the whole skill.
Washable, freely: the waste drawer, any removable liner or tray, and the chamber or globe that holds the litter bed. These are molded plastic designed to hold waste. They can be rinsed, soaked and scrubbed.
Washable, carefully: the sifting mechanism, the rake, screen, or rotating separator, depending on design. It is usually removable and usually plastic, but it often sits close to drive components. Wash it detached, never in place.
Never washable: the base or control housing, the motor assembly, and anything with a visible contact, connector or sensor window. Wipe these with a barely damp cloth and nothing more.
Replaced, not cleaned: carbon filters. Absorption has an end point, and washing a saturated filter does not restore it.
If you are unsure which category a part falls into, the test is simple: if removing it exposes wires, contacts or a motor, it is not going in water.
The order that gets it dry by evening
Guides list the steps. None of them tells you the sequence that matters, which is this: wash the biggest, slowest-drying part first.
The chamber or globe holds the most water in the most awkward geometry, and it is what determines when the whole machine is usable again. Start there, get it rinsed and standing to drain, and then work through the drawer, the liner and the mechanism while it is drying. If you do it in the other order, small parts first, chamber last, everything else is dry and you are still waiting on the one component you cannot reassemble without.
The second sequencing point is the litter. Empty it before you start, not during. Wet litter is dramatically harder to deal with than dry litter, and a half-full chamber taken to a sink is how you find out that clumping clay sets in a drain.
Plan for the cats. A teardown means no box for the duration, so put a temporary manual box down before you start rather than after they have looked for the missing one. In a multi-cat home this matters more than in a single-cat home for the same reasons capacity does.
Cleaning agents: what is supported, and what is guesswork
The manufacturer guidance is consistent and narrow. Warm water and a mild, unscented soap. For hardened deposits, a baking-soda paste, left to sit and then worked off.
That is the whole supported list, and the unscented part is not fussiness. Cats' scent sensitivity is well beyond ours, and a strongly perfumed cleaner is a genuine route to a box your cat declines to enter, which is a far worse outcome than the smell you were trying to remove.
You will find people online recommending bleach, vinegar, ammonia-based cleaners and various disinfectants. I am not going to pass those along. Some are inadvisable around cats, some attack plastics over time, and none of them appears in guidance from anyone who built one of these machines. If warm water, mild soap and baking soda have not shifted something, the honest answer is that the part may be at the end of its life, not that you need a stronger chemical.
Sensors, contacts and the reassembly check
The sensors are how the machine knows a cat is present, and they are the single most consequential thing to get right on the way back together.
Wipe sensor windows and contacts with a soft cloth, never a soaked one, and never anything abrasive, because a scratched sensor window is permanent. Litter dust and cat fur are the usual culprits and they come off easily.
There is a real split in the manufacturer guidance here, and it is worth knowing rather than averaging. Litter-Robot's laser sensor cleaning instructions specify dry methods only: a dry cloth, a vacuum with a brush attachment, compressed air, or a dry cotton swab. A separate Whisker blog post recommends isopropyl alcohol monthly, but that advice is aimed at the drawer-full sensors, not the laser optics.
So the safe rule is the conservative reading of both: dry for anything that looks like a lens. A laser sensor is an optical component, and putting liquid on optics is how you turn a dusty sensor into a permanently hazy one. Nothing about a deep clean requires you to take that risk.
Sensors are not only in the obvious places. Guidance points to the ones near the entry, inside the globe rim, and in the waste drawer, and dust or cat fur on any of them causes the same class of problem: inaccurate drawer-level readings and false cat detections.
Then let everything dry completely before power goes anywhere near it. Completely means longer than it looks, trapped water in a seam or a screw recess is not visible and is exactly where it does damage. If you can feel any coolness on a surface, it is not dry.
Reassemble in reverse order, seat every part positively rather than approximately, and then run one full cycle empty, before adding litter and before letting the cats back. An empty cycle tells you immediately whether something is mis-seated, and finding that out with an empty chamber is enormously better than finding out with a full one.
Filters and the parts that are consumable
Carbon filters get replaced on their own rhythm, not on the teardown rhythm, and the two are easy to conflate. A filter that has been in place through a full deep-clean interval is almost certainly saturated, so replacing it at teardown is a sensible habit even if it is not strictly the same maintenance job.
This is also the moment to look at anything that wears, seals, gaskets, the mechanism's contact points. You do not need to act on what you see, but a teardown is the only time you will see it, and a part that is visibly degrading is worth knowing about before it fails.
How often all of this should happen is a separate question with a genuinely disputed answer, and it belongs with the maintenance schedule rather than here. If what sent you looking for a teardown was a smell that crept up over months, why that happens is worth reading alongside this, the cleaning is half the fix and the interval is the other half. And if the machine is stopping mid-cycle or reporting errors, that is a fault rather than a cleaning problem: start with the troubleshooting sequence.
Frequently asked questions
How do I deep clean an automatic litter box?
Unplug it, empty the litter, remove the washable parts (drawer, liner, chamber, sifting mechanism), wash them with warm water and mild unscented soap, wipe the control housing and sensors with a barely damp cloth, dry everything completely, reassemble and run one empty cycle before adding litter.
What can I safely wash with water?
The waste drawer, any liner or tray, the litter chamber or globe, and the detached sifting mechanism. Never the base, motor assembly, or anything with visible contacts or sensors.
Can I use bleach or vinegar?
No manufacturer guidance I have found recommends either. Warm water and mild unscented soap, with baking-soda paste for hardened deposits, is the supported list. Strong or scented cleaners risk both the plastics and your cat's willingness to use the box.
How long does it need to dry?
Longer than it looks. Trapped water in seams and recesses is invisible and is what damages electronics when power is restored. If a surface still feels cool, it is not dry.
Should I replace the carbon filter during a deep clean?
It is a sensible habit. A filter that has been in place across a full cleaning interval is likely saturated, and a saturated carbon filter absorbs nothing while looking identical to a fresh one.